Listening Guides / Scanning and OCR
How to Scan Text to Speech on iPhone
Learn how to scan text to speech on iPhone with Live Text, Notes, Magnifier, and a saved OCR listening workflow. Includes capture and accuracy checks.
By AudioPage Editorial · Published · Updated · 11 min read
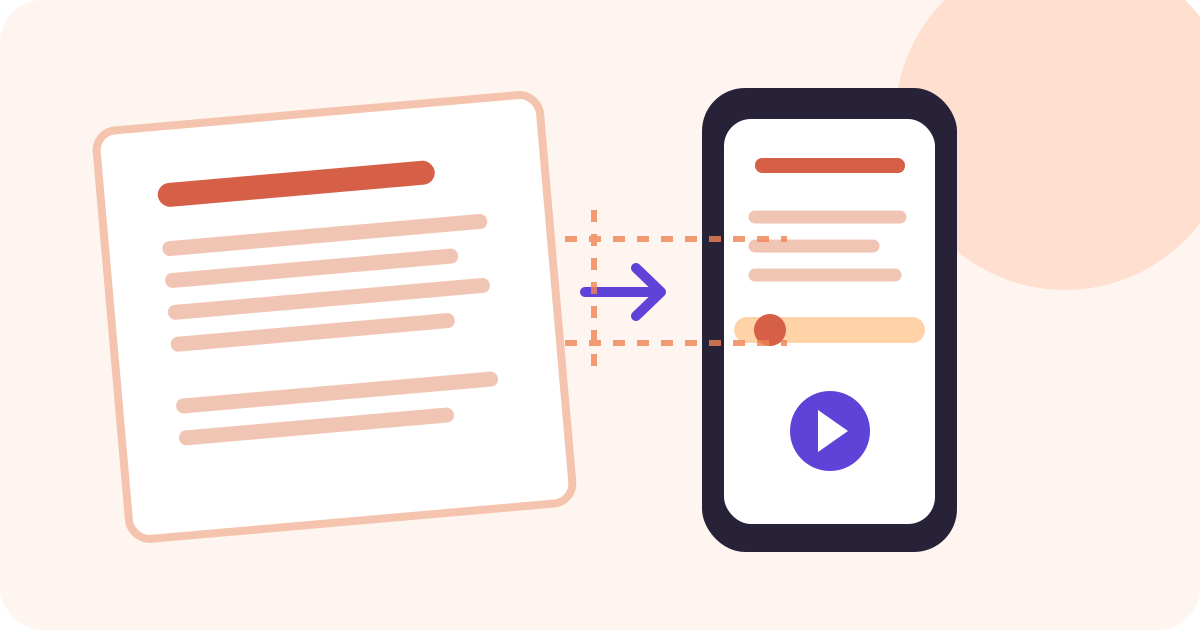
To scan text to speech on iPhone, use Live Text for a quick photo or screenshot, Magnifier when you want nearby text spoken from the camera view, or Notes and a saved reading app when you need to keep a page for later. The workflow has two separate stages: optical character recognition (OCR) turns pixels into words, and text-to-speech reads those words. Always verify numbers, names, quantities, and instructions against the original image.
Quick takeaway: Capture the page clearly, recognize a short paragraph, and inspect it before scanning a stack. Magnifier is convenient for immediate narration. Live Text is useful for copying. A dedicated reader is better when the recognized text should become a saved listening item.
Choose the scanning path before you open the camera
“Scan text to speech” can mean a live camera experience, a copy-and-speak action, or a saved document workflow. Pick the smallest path that fits the job.
| Situation | iPhone path | Result | What to verify |
|---|---|---|---|
| One clear paragraph in Photos | Live Text, copy, then Speak Selection | Text you can hear or paste elsewhere | Characters, punctuation, and line order |
| Label, menu, or nearby printed text | Magnifier Text Detection or Point & Speak | Camera-based speech feedback | Language, lighting, and that the correct region is selected |
| Several pages you want to keep | Notes Scan Text or Scan Documents, then a reader | Text or a PDF you can organize | Page order, columns, and missing lines |
| A photo you want to revisit | Import the photo into a supported OCR reader | Saved listening item | Title, extraction, and resume behavior |
| A critical number or instruction | Scan plus visual comparison with the original | Narration as a convenience, not proof | Every digit, unit, decimal, and qualifier |
Apple’s Live Text guide says recognized text in photos, videos, Safari, and other places can be selected, copied, shared, or translated. Apple’s camera Live Text guide documents selecting text directly in the camera frame. These tools are excellent for short, clear selections, but neither one is a promise that a full page has been structured for long-form narration.
Method 1: use Live Text for a photo or screenshot
Use this path when the image is already on your iPhone.
- Open the image in Photos, Safari, Quick Look, or the app where it appears.
- Tap the detected-text button when it is shown.
- Touch and hold a word, then drag the handles to select the passage.
- Tap Copy or Share.
- Paste the text into a text field or reading view and use Speak Selection or Accessibility Reader.
- Compare the first and last sentence with the image before listening to a longer passage.
Live Text may recognize menu items, dates, currency, web addresses, and other text. Quick actions can be helpful, but they can also move you away from the exact passage you intended to hear. When accuracy matters, copy the text into a plain reading view so you can see the recognized characters together.
Use a short calibration paragraph
Choose a paragraph containing one capitalized name, one number, and one punctuation mark. Listen and compare:
- Is the name spelled correctly?
- Did a decimal point or comma survive?
- Did a hyphenated line become one word or two?
- Did the order remain top-to-bottom and left-to-right?
- Did the voice skip a line that was faint or near the edge?
If the answer to any question is no, recapture the image. Do not “fix” a critical number from memory while the original is out of view.
Method 2: use Magnifier for nearby text
Magnifier is a good fit when the text is in front of you: a package, menu, appliance panel, printed form, or label. Apple’s Magnifier text detection guide documents Detection Mode, Text, and Point & Speak. It also warns that Text Detection and Point & Speak are not available in every language and should not be relied on in high-risk or emergency situations.
The general setup is:
- Open Magnifier.
- Tap Detection Mode.
- Touch and hold the mode button, then select Text or Point & Speak.
- Position the iPhone so the rear camera sees the text clearly.
- Keep the phone steady while the words are detected.
- Point to the exact label or line you want spoken when using Point & Speak.
- Pause or stop detection before moving to the next region.
Magnifier is immediate rather than archival. It is not the best route for a ten-page handout if you need a listening position tomorrow. It also speaks what it recognizes in the current camera view; it does not automatically explain the visual relationship between a label and a diagram.
Method 3: scan text or documents in Notes
Notes offers two related flows. Apple’s Scan Text and Documents guide says Scan Text can insert recognized text into a note in supported languages. Scan Documents captures pages and saves the document as a PDF in the note.
Choose Scan Text when the output should be editable words. Choose Scan Documents when you need page images, a multi-page PDF, or a visual record of the original. If the resulting PDF is image-only, it may still need OCR before speech tools can use it. Our scanned-PDF guide explains that distinction in detail.
For a multi-page capture:
- Put the page on a flat, contrasting surface.
- Open a new note and tap the attachments button.
- Choose Scan Text or Scan Documents according to the output you need.
- Keep the camera parallel to the page.
- Use even lighting and avoid a hand or phone shadow.
- Capture a complete page, then review the corners before continuing.
- Add pages in order and mark any page with a table, side note, or handwritten annotation.
- Finish the scan and inspect the first page before sharing it to a reader.
Notes is a useful staging area, but the scan itself does not guarantee a good listening sequence. Columns, headers, footers, and handwritten marks need their own checks.
Method 4: save recognized text in AudioPage
Use a dedicated reader when the page should become part of a listening queue rather than a one-time camera interaction. AudioPage supports photos and scans alongside supported PDFs, EPUBs, DOCX files, web articles, and pasted text. Import a photo or scan, inspect the recognized title and opening text, and start with the calibration paragraph above.
AudioPage’s core reading path is local-first after first voice setup, and first voice setup needs internet. Free supports up to 10 saved items. Lifetime Offline covers eligible local features. Pro connected summary, chat, and optional sync are separate cloud features selected by the user. AudioPage is not an MP3 exporter or audiobook-production tool. See AudioPage support for the current product boundaries.
The important product behavior is the separation between narration and verification. AudioPage can make a supported photo or scan easier to hear, but you remain responsible for checking the extracted text against the image when the content contains a quantity, date, name, measurement, or instruction. Our photo-to-speech guide covers the short-image decision in more detail.
Capture quality controls that actually help OCR
Before scanning a stack, improve the input instead of hoping a later voice will smooth it out:
- Distance: Fill the frame with the page while leaving a small margin around the text.
- Angle: Hold the camera parallel to the page so lines do not become trapezoids.
- Light: Use even light; avoid glare on glossy paper and shadows from the phone.
- Focus: Pause until small characters are crisp, especially for footnotes.
- Contrast: A dark typeface on a clean, light background is easier to recognize than faint gray text.
- Language: Use a tool and recognition language that match the document when that choice is available.
- Region: Capture one complete region rather than cutting off the first or last character of every line.
- Page order: Number pages or confirm the thumbnail order before importing.
Handwriting, curved labels, decorative fonts, and dense tables are not automatically impossible, but they demand a slower verification pass. A scan can be visually legible to a person and still produce incorrect OCR.
Privacy and permission checks
The safest workflow depends on the document and the tool. Do not upload a private page merely because it is convenient if a local path is sufficient. Check where the chosen feature processes recognition and what a connected AI feature does before using it for confidential material. Keep sensitive documents in a workflow you are allowed to use, and do not scan someone else’s protected material without permission.
AudioPage’s product boundary is explicit: core listening for supported local imports is local-first after first voice setup, while Pro connected summary, chat, and optional sync are separate cloud actions. That does not make every camera or system recognition feature identical. Treat each tool as its own data path and choose deliberately.
A ten-minute scan-to-speech test
Use one printed page with a heading, a paragraph, a number, and a short list:
- Take one photo in ordinary room light.
- Take another photo with the phone parallel and the page fully visible.
- Compare recognized text from both images.
- Read the heading and first sentence aloud.
- Check the number, punctuation, and list order against the paper.
- Crop one line tightly and see whether the result improves or loses context.
- Import the better capture into the chosen reader.
- Play for one minute, then pause and reopen the item.
- If offline listening matters, finish voice setup while connected and test again in Airplane Mode.
- Mark every part that still needs visual review.
This protocol distinguishes camera quality, OCR accuracy, speech playback, and resume behavior. If something fails, you know which stage to change.
Troubleshooting scan-to-speech problems
The text button does not appear. The language, region, or image may not be supported, or the text may be too blurred or small. Try the camera Live Text path, retake the photo, and check the iPhone language settings.
The reader says the page in the wrong order. A two-column layout or side note may have been recognized as one stream. Crop columns separately for a short job, or use the original page and a structured source for a long document.
Numbers sound plausible but are wrong. Stop and compare the digits, decimal point, sign, and unit visually. Never use a voice’s confidence or smooth pronunciation as evidence that OCR was correct.
The scan is readable but too noisy to listen to. Re-capture with better lighting and a complete page boundary. Remove repeated headers where your tool permits it, or use a clean text source.
Offline playback fails after import. Confirm the voice finished its first setup while online, then open the saved item once before leaving the network. Connected summary, chat, and optional sync are not required for core local playback, but they also are not offline features.
Frequently asked questions
Can an iPhone scan printed text and read it aloud?
Yes. Live Text can copy recognized words, Magnifier can detect nearby text and speak it, and a saved OCR reading workflow can turn a photographed page into an item you listen to later.
Why is my iPhone scanning the text incorrectly?
Blur, glare, shadows, a tilted camera, low contrast, tight cropping, unusual type, or an unsupported language can reduce recognition quality. Retake a complete page in even light and verify a short paragraph before scanning more.
Can I scan text to speech offline on iPhone?
It depends on the tool and whether the required recognition and voice resources are ready. AudioPage needs internet for first voice setup; supported OCR and core playback can then run locally after setup.
Should I trust scanned text for numbers or instructions?
No. Treat OCR speech as a draft narration and visually verify names, quantities, dates, decimal points, units, and safety instructions against the original page before acting on them.
Sources and further reading
- Apple Support: Use Live Text to interact with content in a photo or video on iPhone (checked 2026-08-07)
- Apple Support: Use Live Text with your iPhone camera (checked 2026-08-07)
- Apple Support: Scan text and documents in Notes using the iPhone camera (checked 2026-08-07)
- Apple Support: Detect text and have it read aloud using Magnifier (checked 2026-08-07)
- Apple Support: Read or listen to text in apps with Accessibility Reader (checked 2026-08-07)
- AudioPage Support (checked 2026-08-07)
About AudioPage Editorial
Guides are produced by the team building AudioPage. Product claims are checked against the current app and repository; third-party features and prices are checked against official sources on the date shown. Read our editorial standards and corrections policy.
Turn the next document into listening time
AudioPage keeps core reading local-first on iPhone. Review the current plan boundaries, then choose the listening setup that fits your documents.